Introduction: Regular roof inspections are essential to maintaining the integrity of your gable roof and ensuring the longevity of your home’s structure. Gable roofs, characterised by their triangular shape, offer several benefits, but like any roof type, they require attention and maintenance. In this blog post, presented by Borrowash Roofing Repairs, we will provide a comprehensive step-by-step guide for conducting thorough gable roof inspections.
Step 1: Safety First
Before the inspection, prioritise safety. Gather the necessary equipment, including a stable ladder, non-slip footwear, gloves, and eye protection. Ensure that the weather conditions are safe for climbing onto the roof.
Step 2: Exterior Inspection
Begin your inspection from the ground, examining the exterior of your gable roof:
- Overall Roof Condition: Assess the general condition of the roof from a distance. Look for any signs of damage, sagging, or unevenness.
- Shingles or Roofing Material: Inspect the roofing material (shingles, tiles, metal, etc.) for signs of wear, cracks, missing pieces, or loose edges.
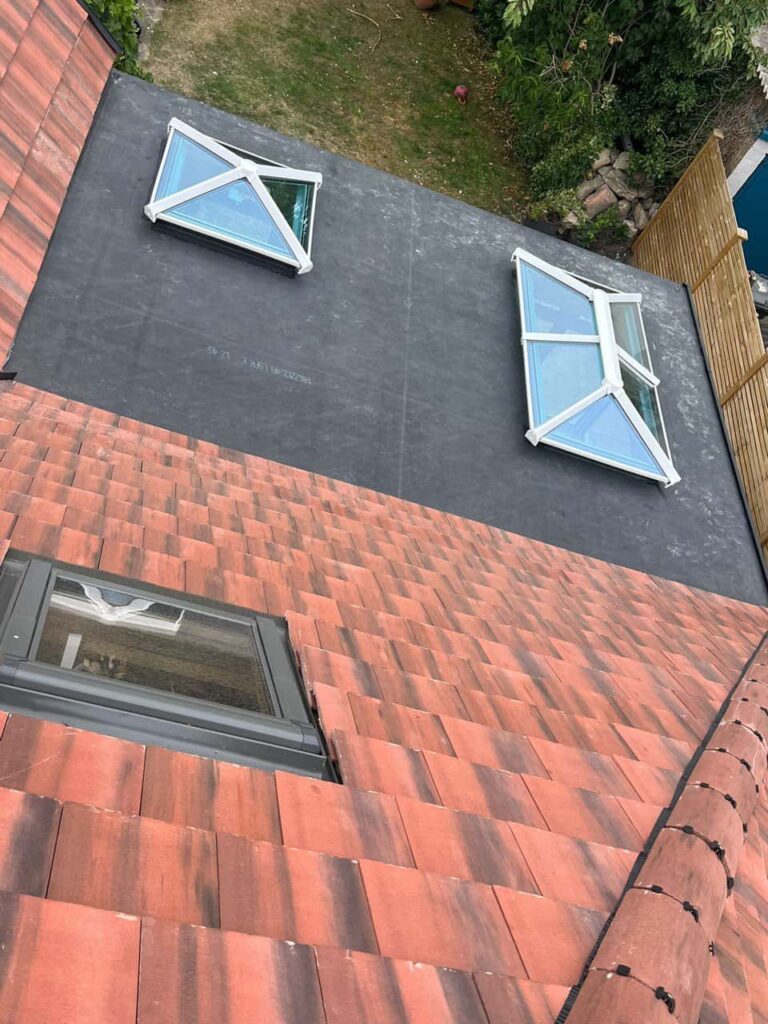
- Flashing and Sealants: Check the flashing around roof penetrations like chimneys, vents, and skylights. Ensure that sealants are intact and not deteriorating.
- Gutters and Downspouts: Examine the gutters and downspouts for clogs, damage, or detachment. Ensure they are securely attached and properly directing water away from your home’s foundation.
Step 3: Attic Inspection
Move indoors to the attic or crawl space to conduct a thorough interior inspection:
- Ventilation: Inspect attic ventilation, ensuring that there are proper vents for air circulation. Inadequate ventilation can lead to moisture problems and damage.
- Insulation: Check the condition and coverage of insulation. Damaged or insufficient insulation can affect energy efficiency and promote ice dams.
- Signs of Leaks: Look for signs of water stains, mould, or mildew on the attic ceiling or walls. These may indicate roof leaks.
- Structural Issues: Examine the roof structure for any signs of sagging, bowing, or damage to the framing.
Step 4: Roof Surface Inspection
Now it’s time to climb onto the roof, if safe to do so, and inspect the roof surface up close:
- Shingle Condition: Check the condition of shingles or roofing material. Look for loose, damaged, or missing pieces. Pay attention to granule loss, which can indicate ageing.
- Flashing and Seals: Examine the flashing around roof penetrations and ensure it is securely in place. Inspect sealants for signs of deterioration.
- Valleys and Ridges: Inspect valleys and ridges for damage or signs of wear. These are vulnerable areas where leaks can occur.
- Gutter Attachments: Check the attachment of gutters and downspouts to the roofline. Secure any loose components.
Step 5: Document Findings
As you inspect, take notes and photographs of any issues you discover. This documentation will be helpful when discussing repairs with a professional roofing contractor.
Step 6: Address Repairs
If you identify any problems during the inspection, it’s crucial to address them promptly. Minor repairs can prevent larger issues from developing, saving you time and money in the long run.
Step 7: Professional Inspection
Consider hiring a professional roofing contractor for a comprehensive assessment and to address any complex issues. They have the expertise and experience to identify hidden problems and provide tailored solutions.
Conclusion: Regular gable roof inspections are a vital part of home maintenance. By following this step-by-step guide and staying vigilant for signs of damage, you can ensure that your gable roof remains in top condition, protecting your home and providing peace of mind.
Call us on: 01332 215 195
Click here to find out more about Borrowash Roofing Repairs
Click here to complete our contact form and see how we can help with your roofing needs.